RA8P1-Titan Board Face Detection AI Model Deployment
This document explains how to deploy an AI model on the Renesas RA8P1 development board.
The required resources are provided in the shared cloud-drive file: USE.zip.
Download link: https://pan.baidu.com/s/1cighdC449cvuiGMGbRTNdw?pwd=ydic
Extraction code: ydic
This document includes the following sections:
AI model training
AI model conversion
AI model deployment
1. Environment Setup
1.1 Darknet
Refer to How to compile Darknet on Windows using CMake to build the Darknet training framework.
Because installing tools such as VS 2022 and CMake can take a long time, a prebuilt darknet.exe is provided at \USE\workspace\Yolo-Fastest\darknet.exe. You can use it to train the model directly on the CPU. If you need to train the model on a GPU, rebuild Darknet by following the official Darknet installation steps.
Before compiling, modify the configuration file according to your requirements.
option(CMAKE_VERBOSE_MAKEFILE "Create verbose makefile" ON)
option(CUDA_VERBOSE_BUILD "Create verbose CUDA build" OFF)
option(BUILD_SHARED_LIBS "Create dark as a shared library" ON)
option(BUILD_AS_CPP "Build Darknet using C++ compiler also for C files" OFF)
option(BUILD_USELIB_TRACK "Build uselib_track" ON)
option(MANUALLY_EXPORT_TRACK_OPTFLOW "Manually export the TRACK_OPTFLOW=1 define" OFF)
option(ENABLE_OPENCV "Enable OpenCV integration" OFF)
option(ENABLE_CUDA "Enable CUDA support" OFF)
option(ENABLE_CUDNN "Enable CUDNN" OFF)
option(ENABLE_CUDNN_HALF "Enable CUDNN Half precision" OFF)
option(ENABLE_ZED_CAMERA "Enable ZED Camera support" OFF)
option(ENABLE_VCPKG_INTEGRATION "Enable VCPKG integration" OFF)
1.2 Install the Python Environment
Python 3.10.0 is required for this guide. Download it from the following link:
Python Release Python 3.10.0 | Python.org
Select the version for your operating system. You can choose a custom download path.

If another Python version was installed previously, uninstall it first. Otherwise, the installation may fail. Alternatively, place the Python 3.10 path above other Python paths in the environment variables so that the system uses the first Python path by default.
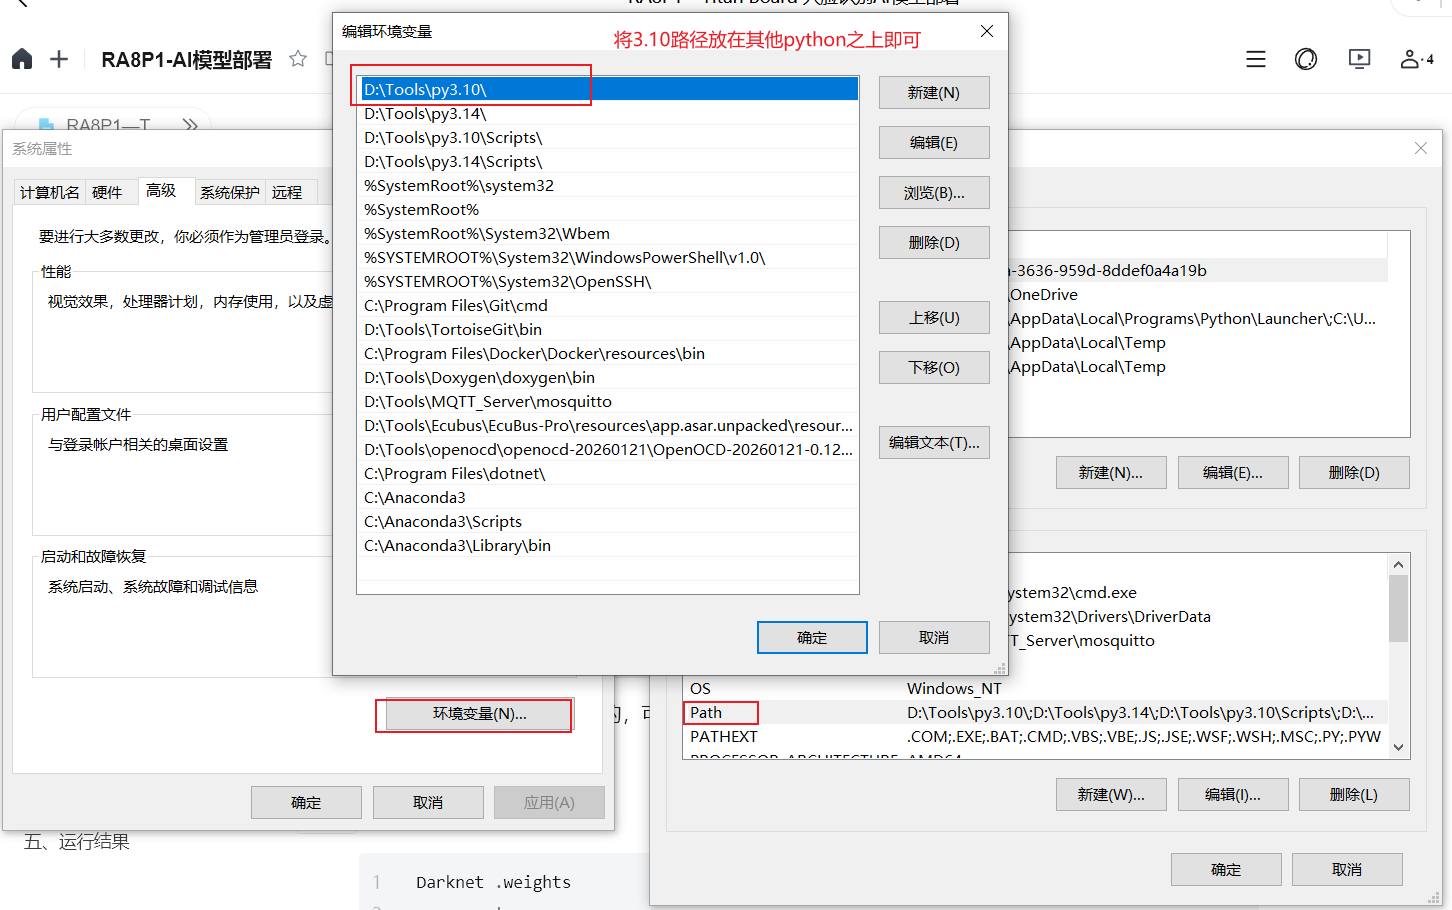
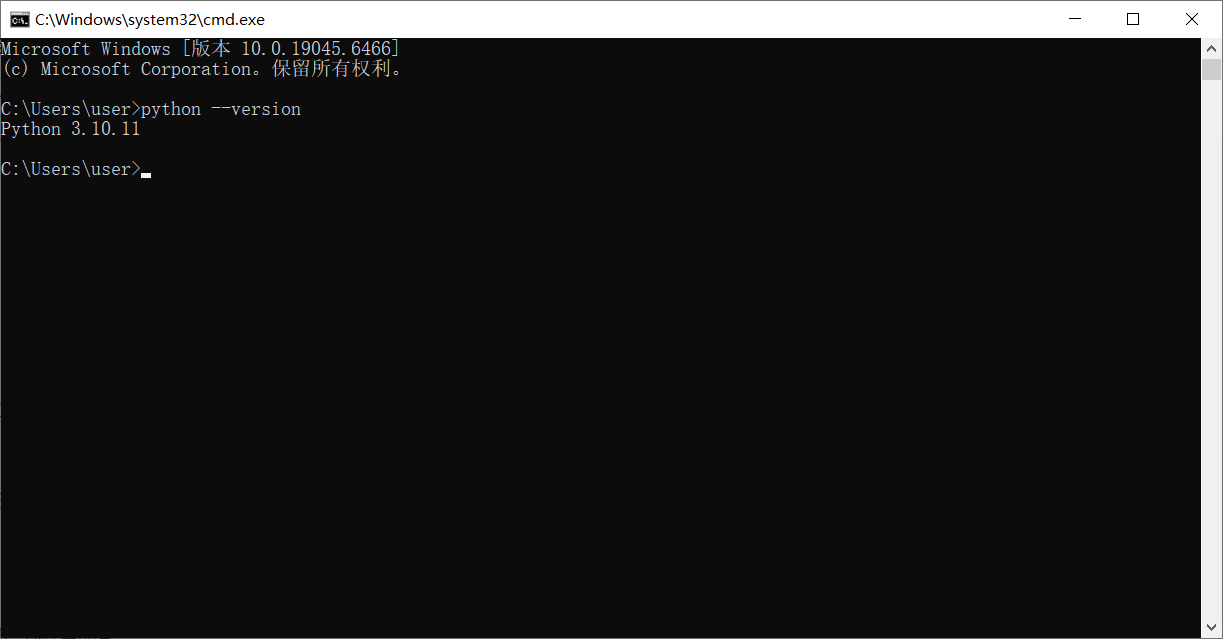
Open a CMD terminal and run python --version to check whether the current Python version is 3.10.
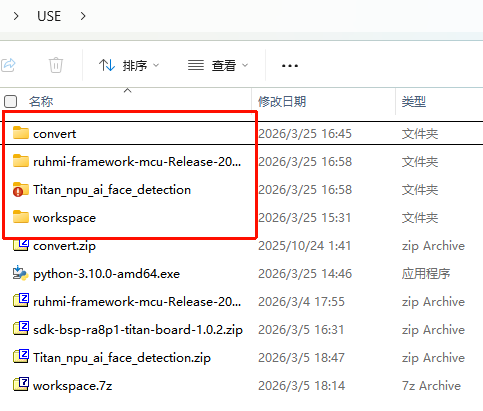
Extract each archive under the USE resource package, as shown below:
1.3 Set Up the Convert Environment
This environment is used for model conversion:
Darknet .weights
        ->
Keras .h5
        ->
INT8 quantization
        ->
TFLite .tflite
Extract convert.zip.
1.4 Set Up the RUHMI Environment
ruhmi-framework-mcu is Renesas’ MCU AI deployment framework. It mainly performs three tasks:
Model compilation: compiles the
.tflitemodel into a computation graph suitable for MCU/NPU executionNPU acceleration adaptation
MCU project code generation
TFLite INT8
      ->
MERA
      ->
Ethos-U55 NPU
      ->
MCU runtime
Extract ruhmi-framework-mcu-Release-2026-02-02.zip.
Open a CMD terminal in the extracted directory, then run:
# Switch pip to a China mirror
pip config set global.index-url https://mirrors.aliyun.com/pypi/simple/
# Create a virtual environment
python -m venv mera-env
# Activate the virtual environment
.\mera-env\Scripts\activate
# Install the MERA toolchain, which is Renesas' AI model compiler/deployment toolchain
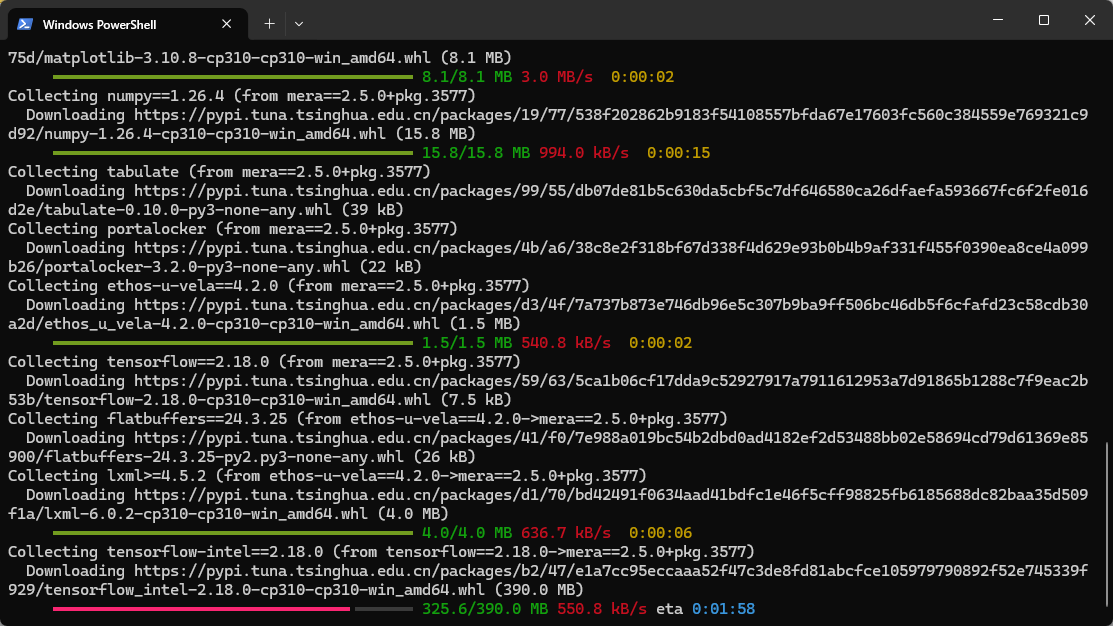
pip install .\install\mera-2.5.0+pkg.3577-cp310-cp310-win_amd64.whl
The computer must be connected to the internet because some installation dependencies will be downloaded online. This step may take some time.
1.5 Set Up the RT-Thread Studio Environment
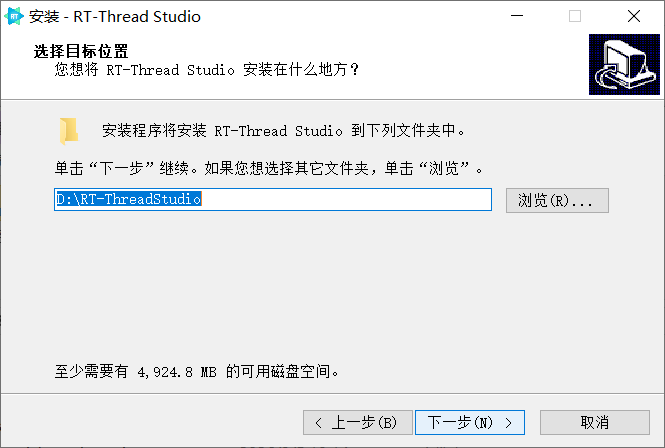
Run RT-Thread_Studio_2.2.9-setup.exe and install it in a path that contains only English characters.
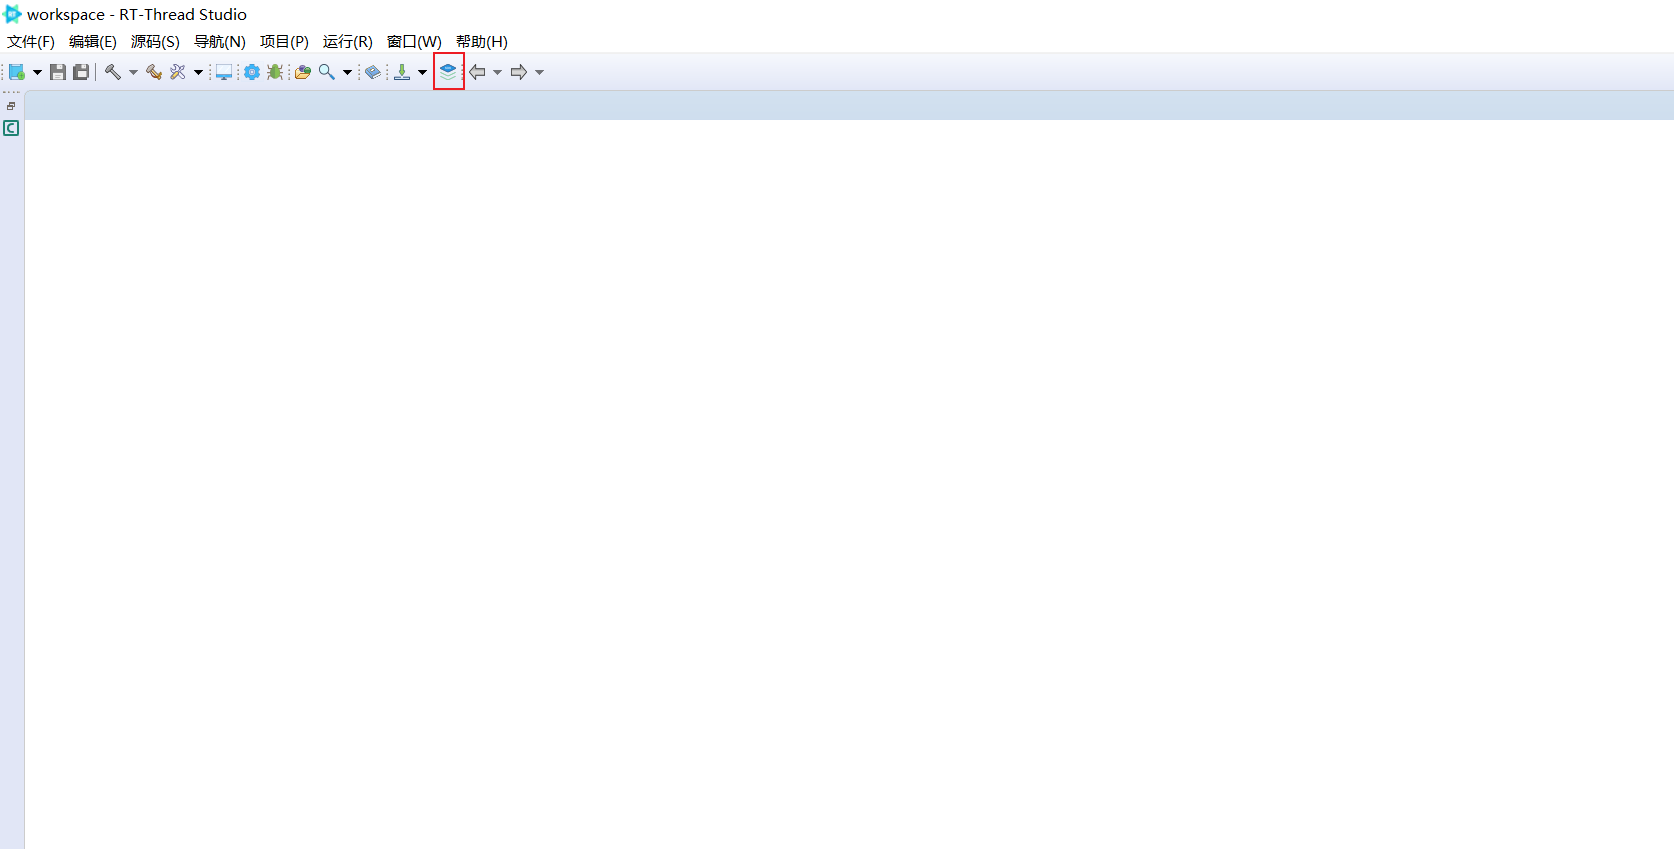
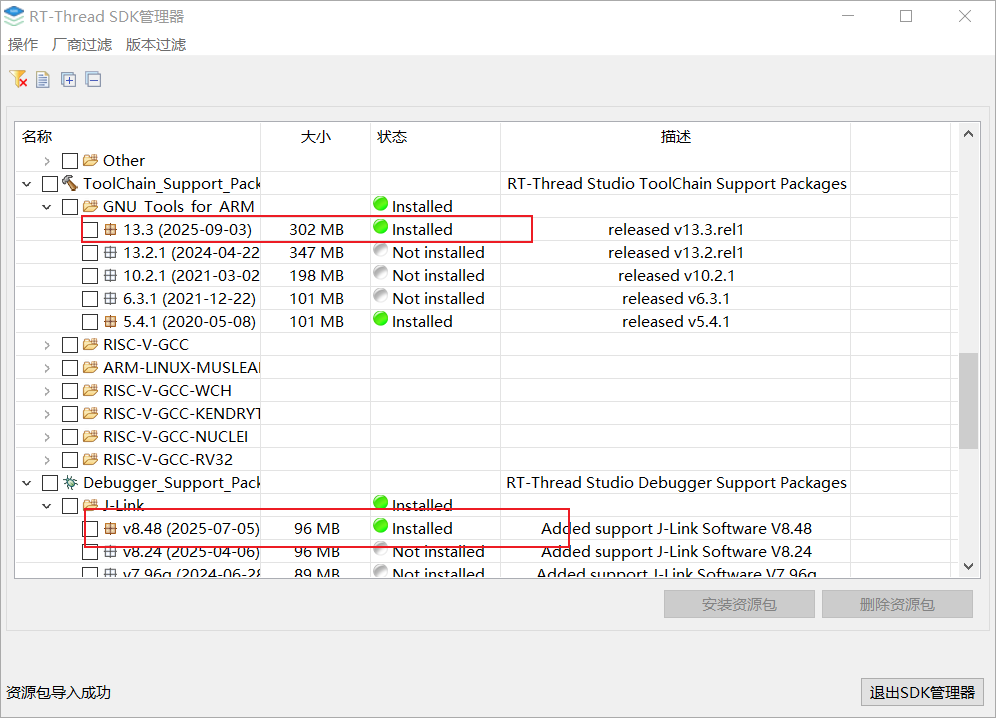
After installation, click SDK Manager in the upper-left corner.
Click Operation, select Import, and choose sdk-bsp-ra8p1-titan-board-1.0.2.zip.
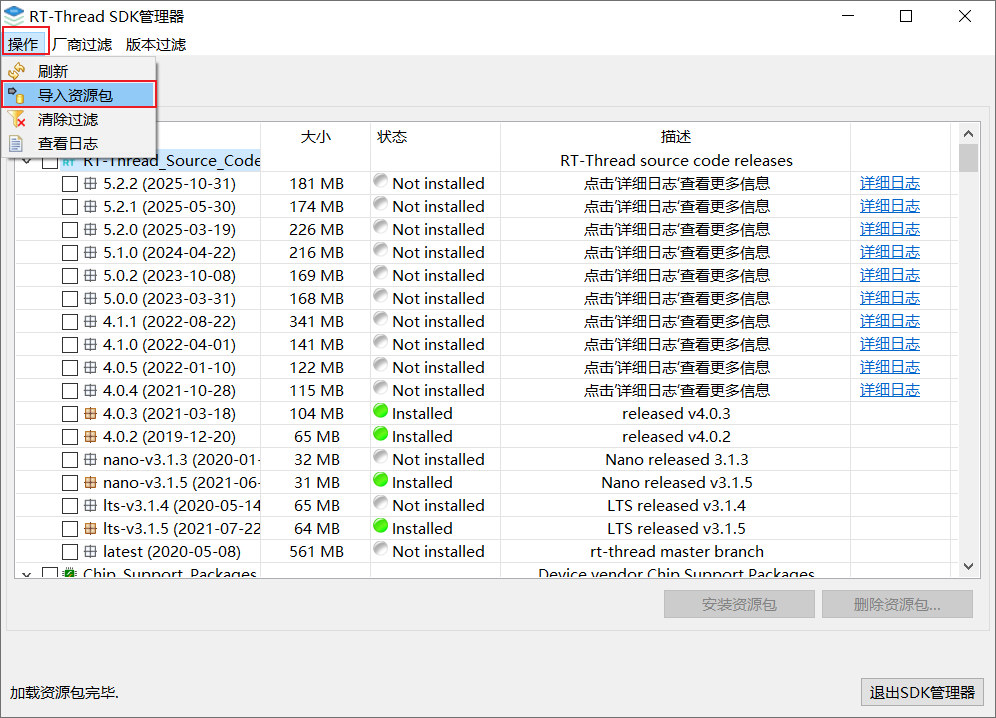

After import, the offline package can be found under Board_Support_Packages/Renesas. RT-Thread Studio will also help install the latest ARM toolchain and the J-Link Debug tool.

2. AI Model Training
Extract workspace.zip.
Train the Model
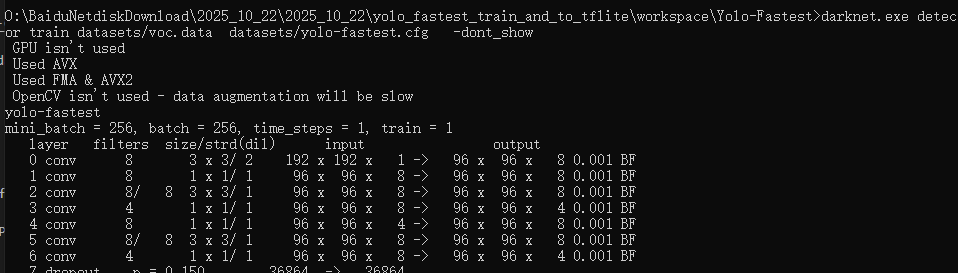
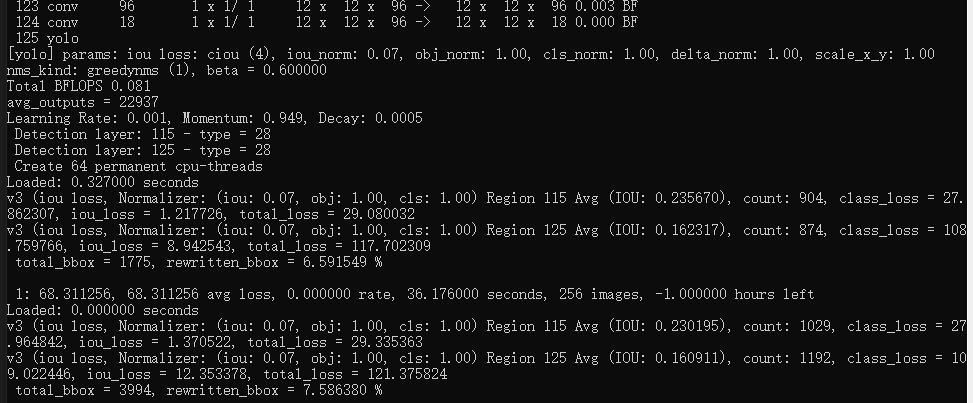
Use the provided \USE\workspace\Yolo-Fastest\darknet.exe. Open a CMD terminal in the \USE\workspace\Yolo-Fastest directory and run the following command. The CPU will start training the model.
darknet.exe detector train datasets/voc.data datasets/yolo-fastest.cfg -dont_show
After training is complete, the model weights are saved in \USE\workspace\Yolo-Fastest\backup.
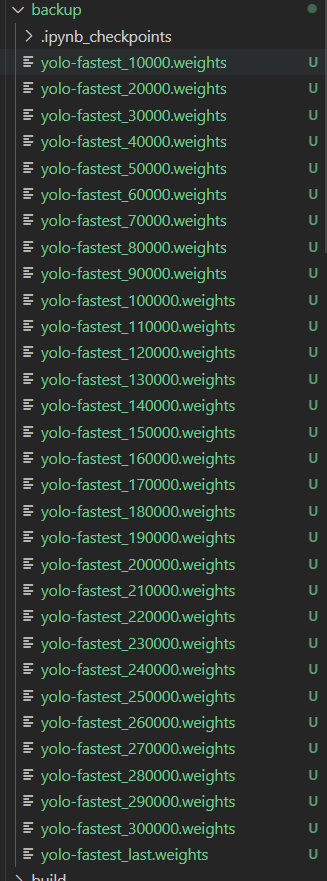
Select the weights from the last training iteration for conversion. The dataset and the number of training iterations used in this document have both been reduced.
3. AI Model Conversion
3.1 Darknet to TFLite
The required conversion configuration is shown below:

Copy the trained weights file (\USE\workspace\Yolo-Fastest\backup\yolo-fastest_last.weights) and the cfg file (\USE\workspace\Yolo-Fastest\datasets\yolo-fastest.cfg) to \USE\workspace\keras-YOLOv3-model-set.
Open a CMD terminal in the same directory.
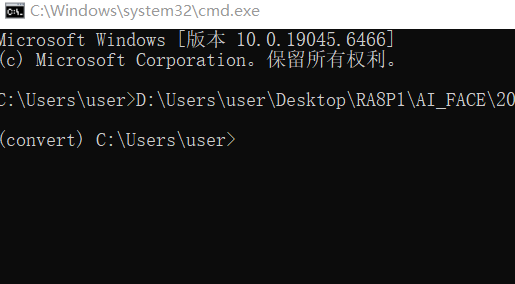
First activate the convert environment:
..\..\convert\Scripts\activate
At this point, (convert) should appear on the left side of the command prompt.
Then run the following command:
python tools/model_converter/conver2tflite_and_int8.py --config_path yolo-fastest.cfg --weights_path yolo-fastest_last.weights --output_path face.h5 --int8_img_path ../Yolo-Fastest/datasets/face/data_1/train/image/ --save_tflite_path face_int8.tflite -f
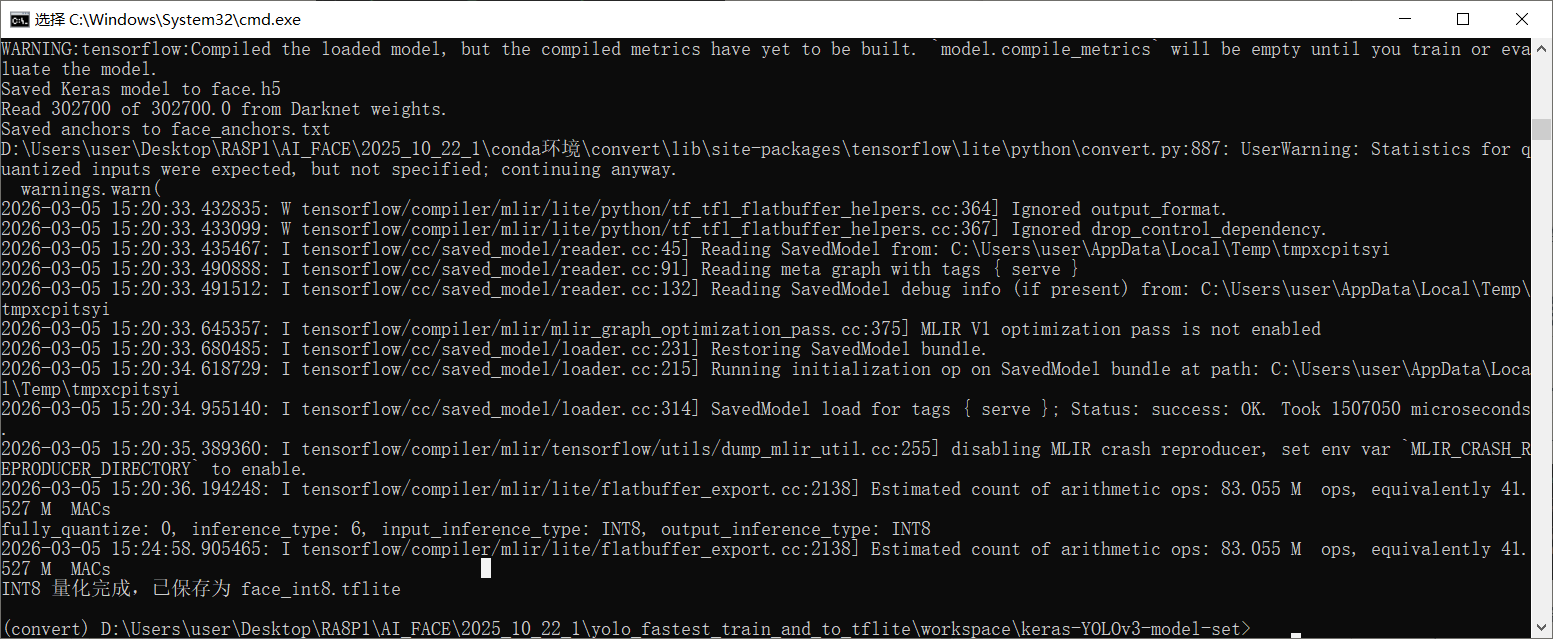
Finally, the face_int8.tflite model will be generated in the root directory of keras-YOLOv3-model-set. This step takes about 5 to 10 minutes.
3.2 TFLite to RUHMI
Copy the generated face_int8.tflite file to \USE\workspace\ruhmi-framework-mcu\models.
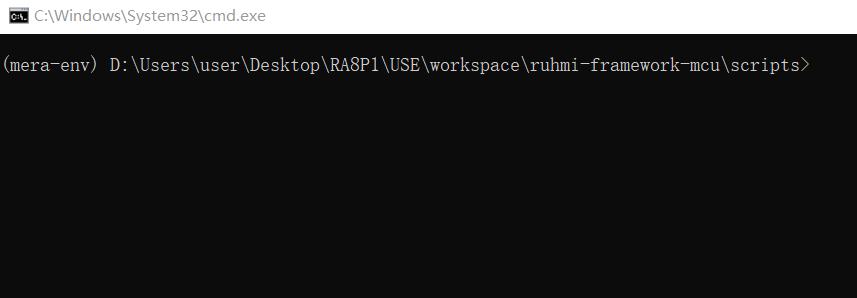
Open a CMD terminal in the USE\workspace\ruhmi-framework-mcu\scripts directory.
First activate the RUHMI environment by running the following command in the CMD terminal:
..\..\..\ruhmi-framework-mcu-Release-2026-02-02\mera-env\Scripts\activate
At this point, (mera-env) should appear on the left side of the command prompt.
Then run the following command:
python mcu_deploy.py --ethos --ref_data ../models/ deploy_qtzed_ethos

4. AI Model Deployment
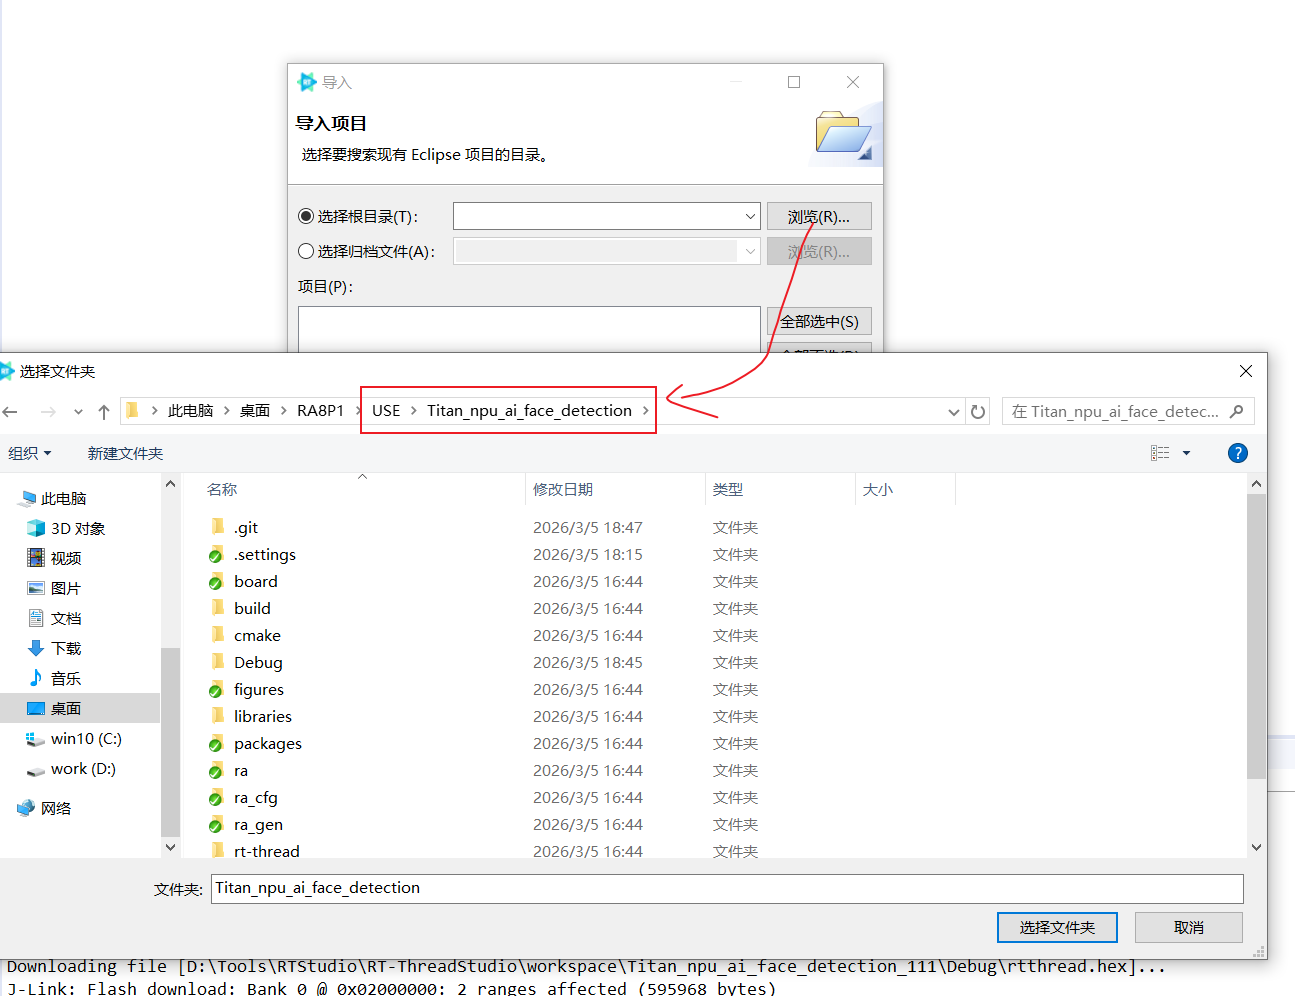
Extract Titan_npu_ai_face_detection.zip.
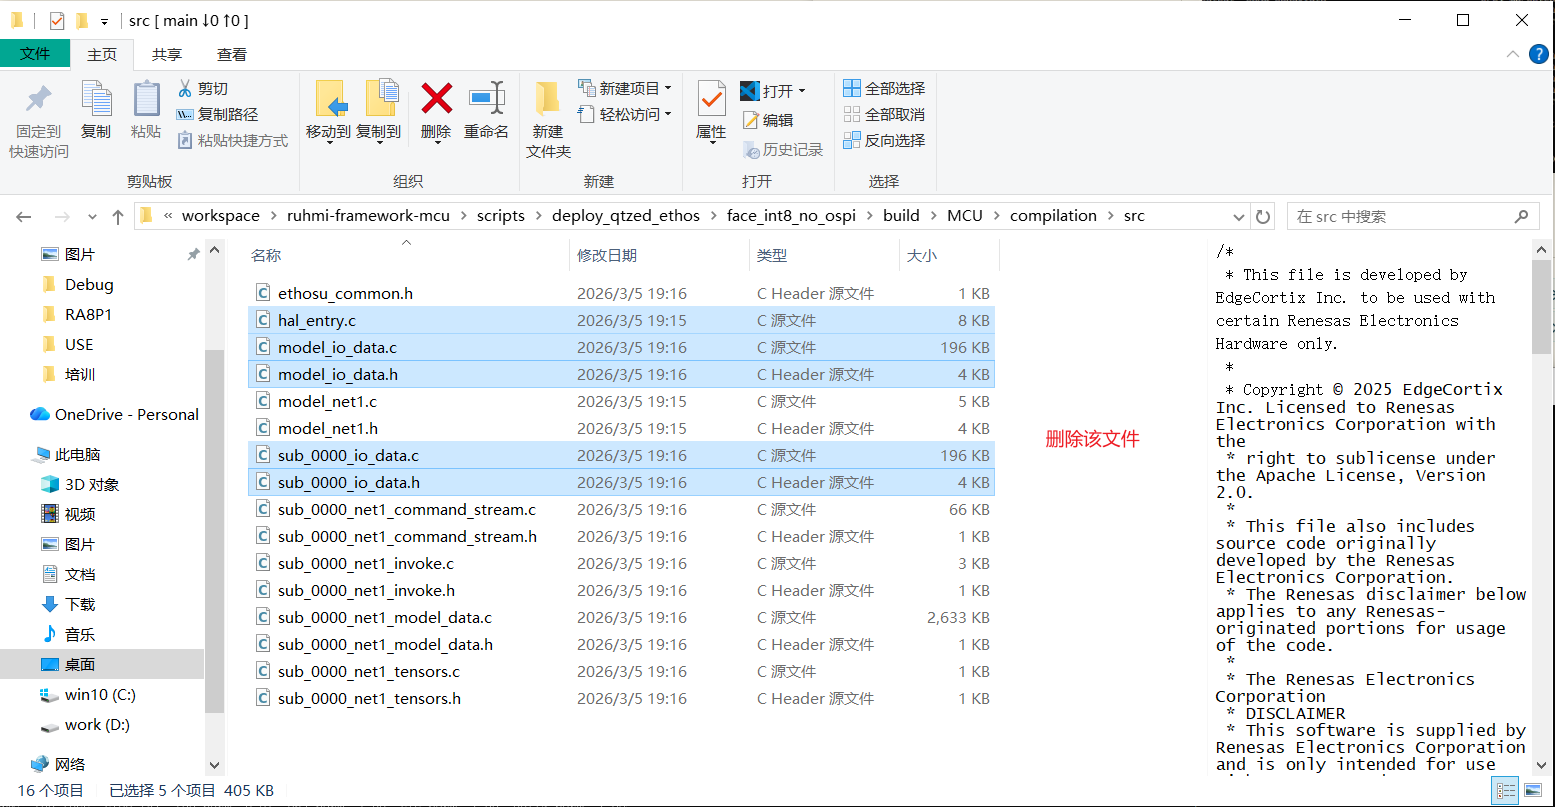
The TFLite-to-RUHMI step generates deployable model files under \USE\workspace\ruhmi-framework-mcu\scripts\deploy_qtzed_ethos\face_int8_no_ospi\build\MCU\compilation\src. Delete *_io_data.c, *_io_data.h, and hal_entry.c, then copy the remaining files to \USE\Titan_npu_ai_face_detection\src\models.
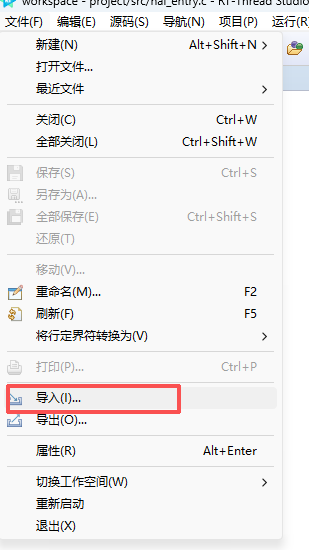
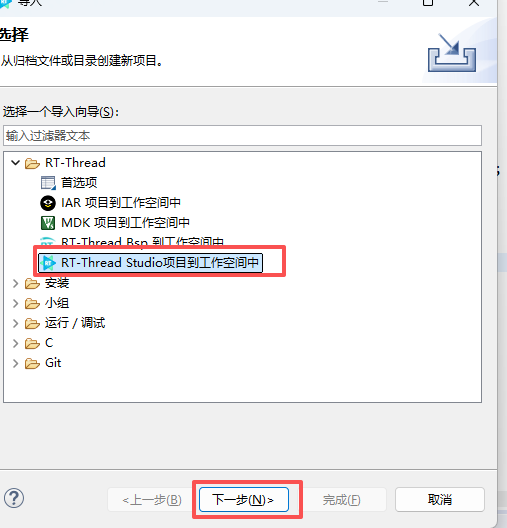
Open RT-Thread Studio and import the example.
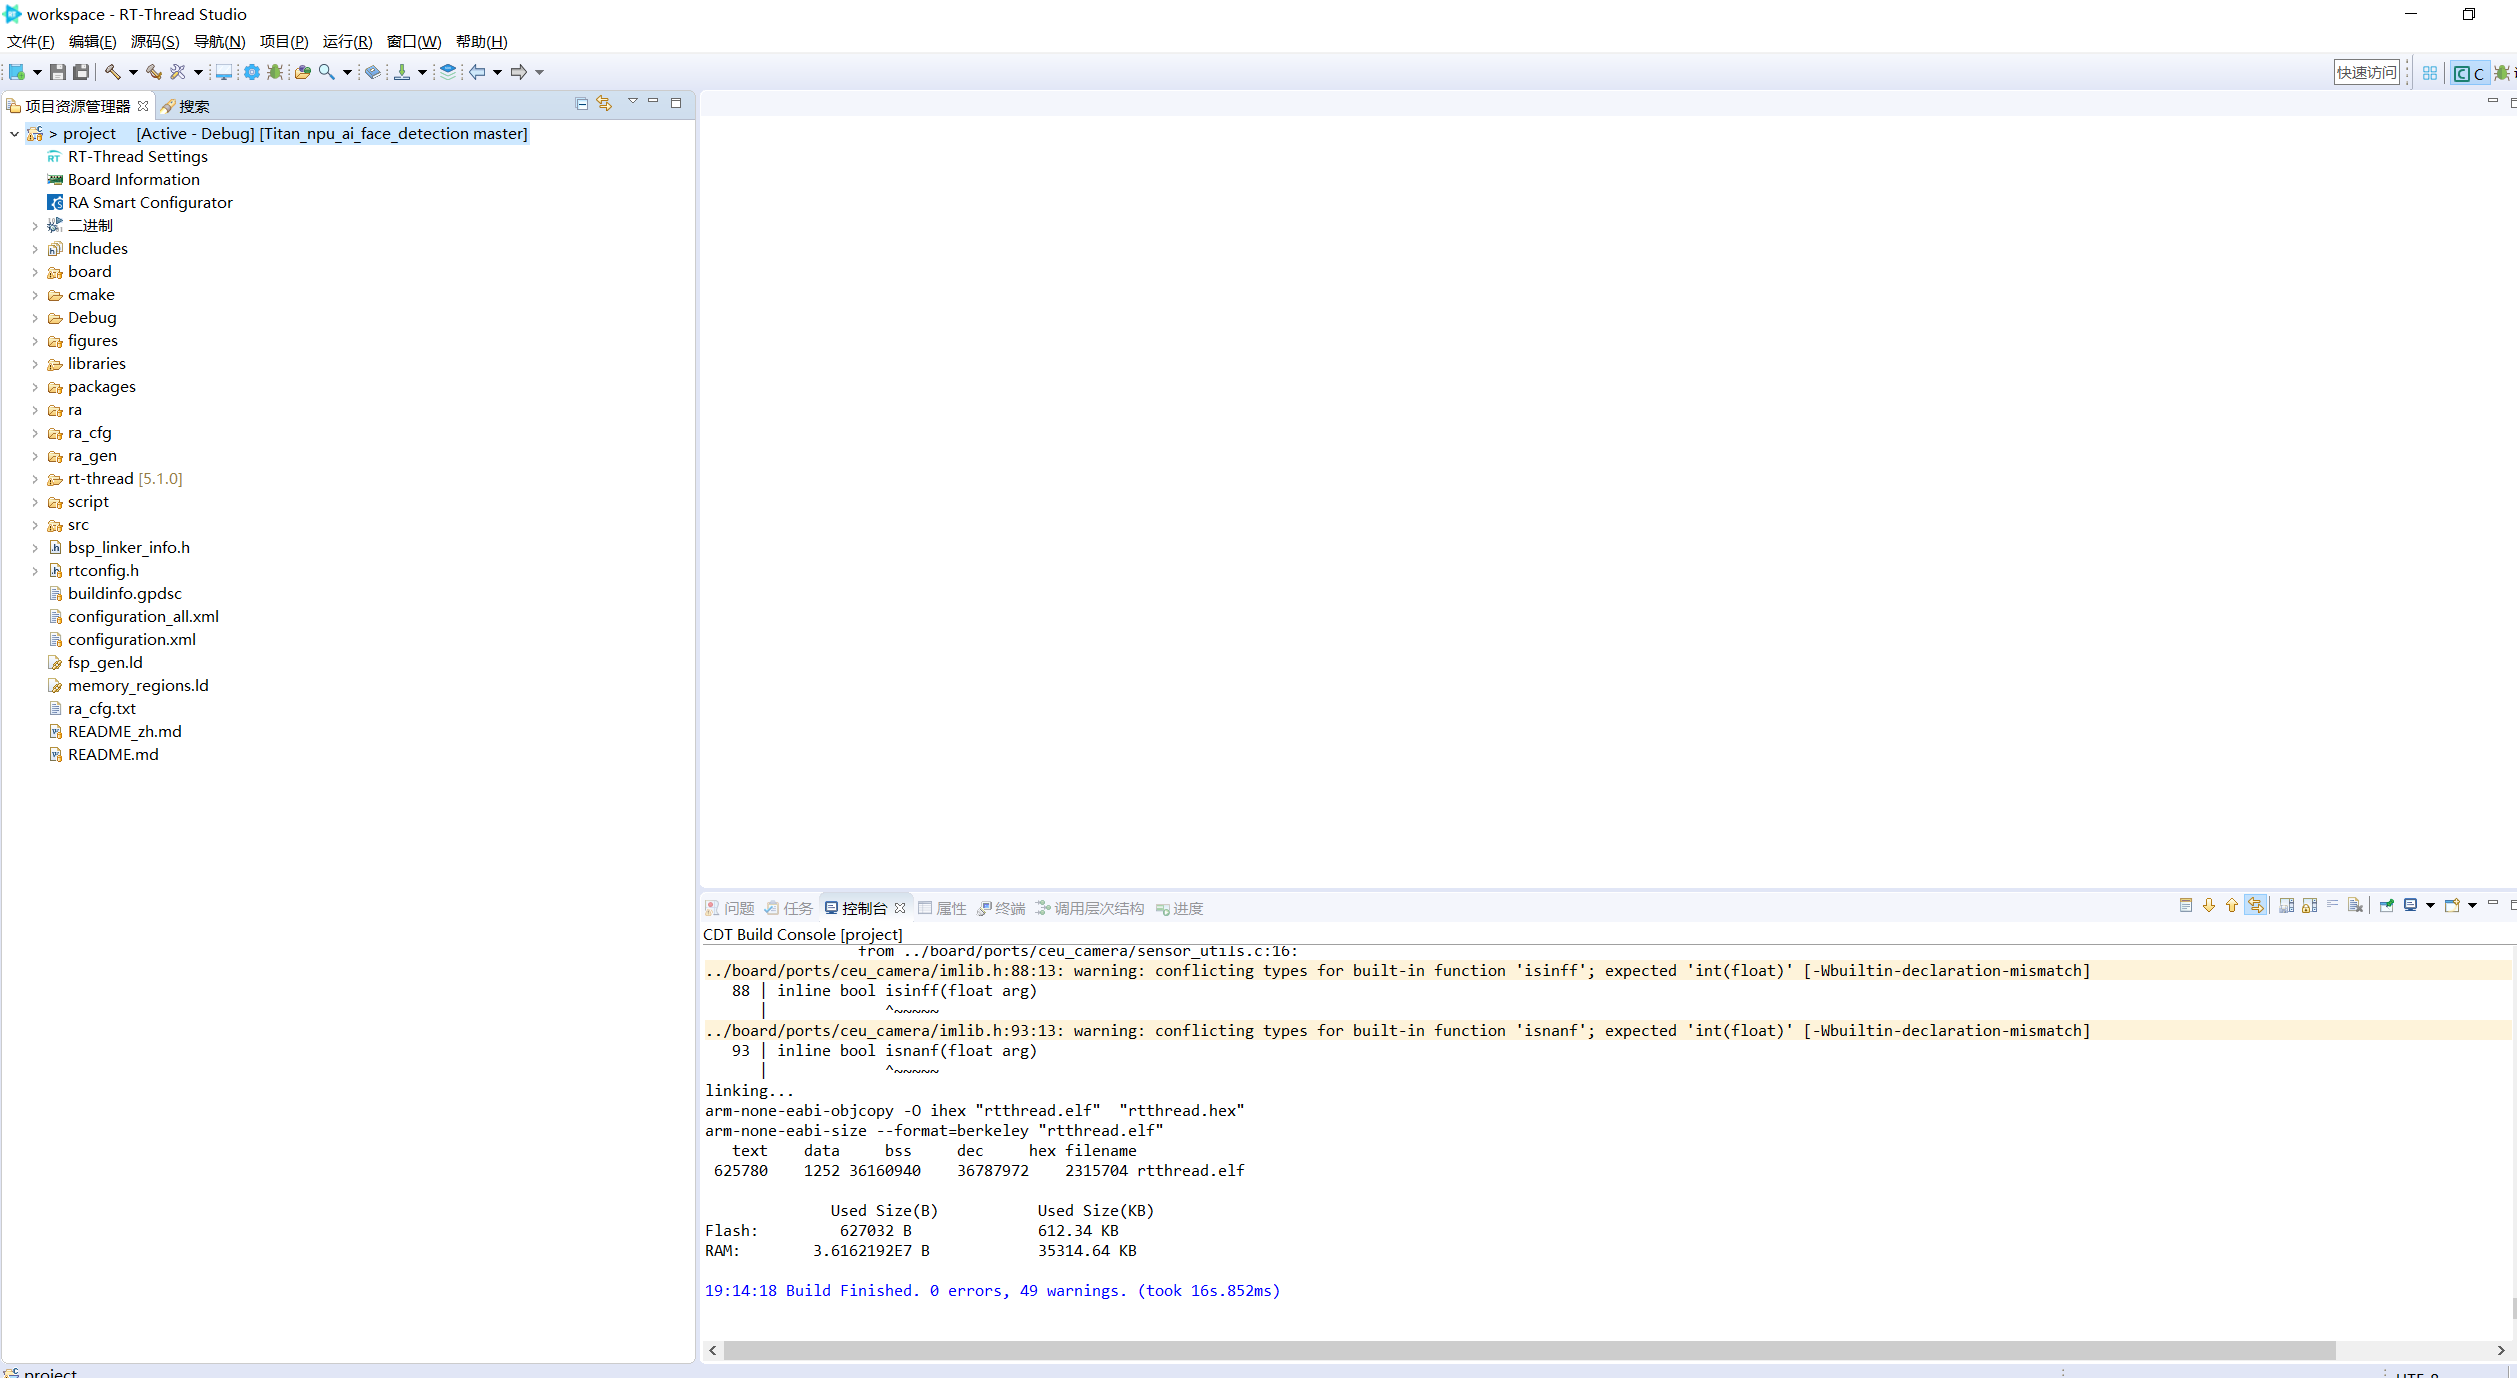
Build and download:
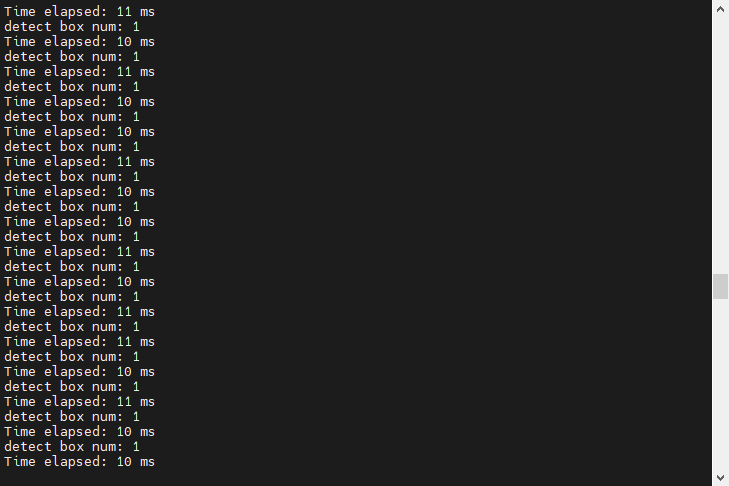
5. Running Result
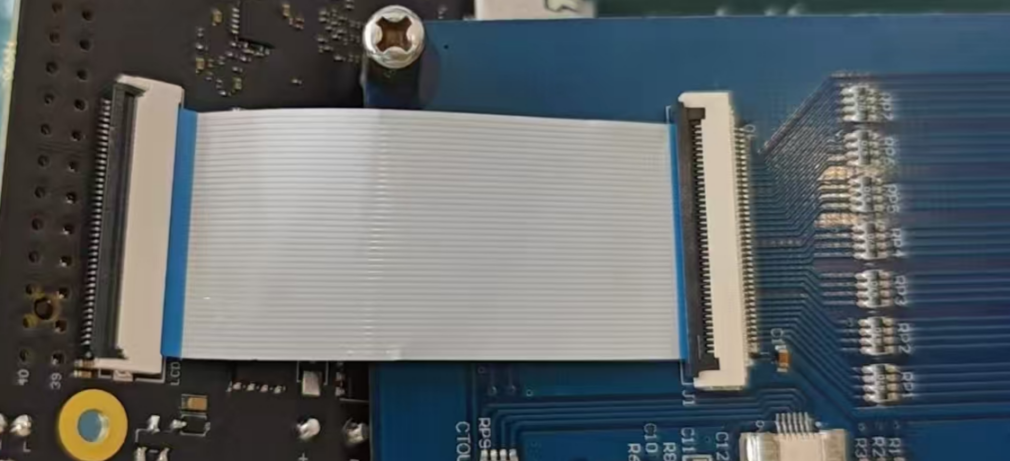
Camera and screen wiring:
Use a 22-pin reverse-direction FFC cable to connect the CEU_CAM FFC connector on the development board to the DVP FFC connector on the camera adapter board.
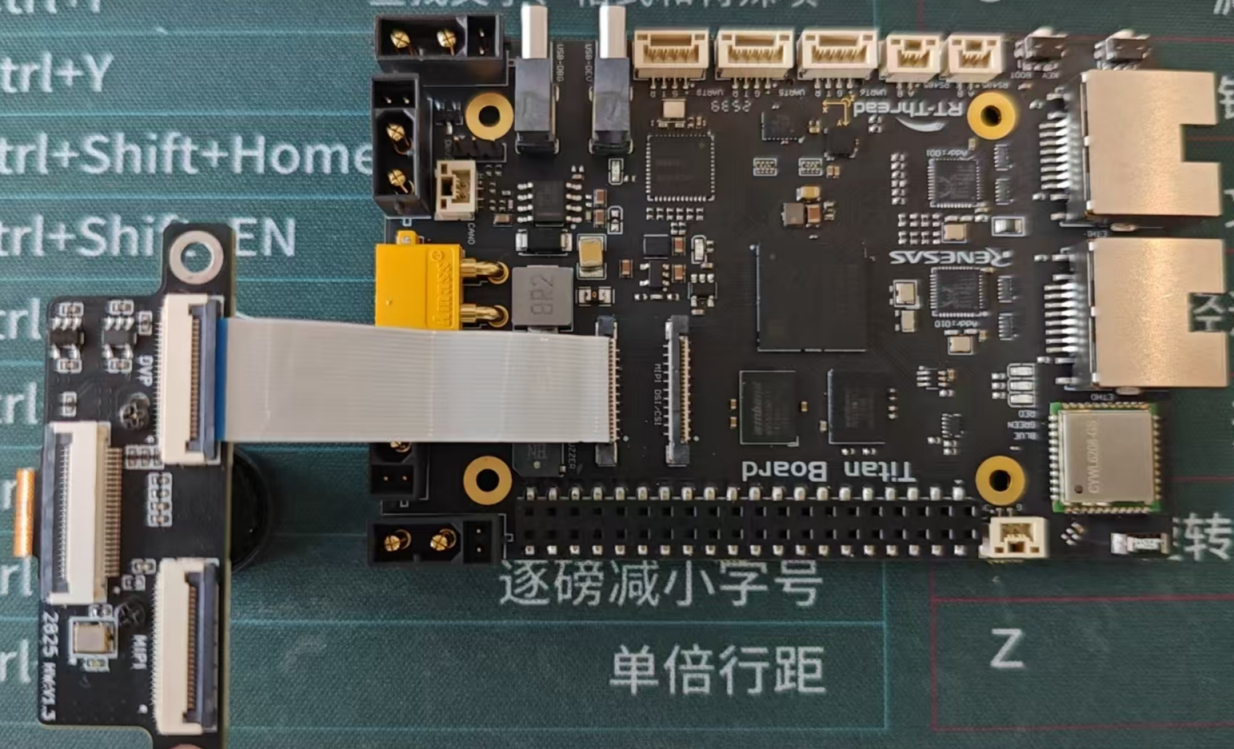
Use a 40-pin same-direction FFC cable to connect the LCD_RGB FFC connector on the development board to the screen.
Running result: