Edgi-Talk_Audio Example Project
中文 | English
Introduction
This example project is based on the Edgi-Talk platform and demonstrates audio recording and playback features running on the RT-Thread real-time operating system. Through this project, users can experience microphone audio data acquisition and speaker playback. The playback can be controlled using a button, while the LED indicator reflects the current playback state.
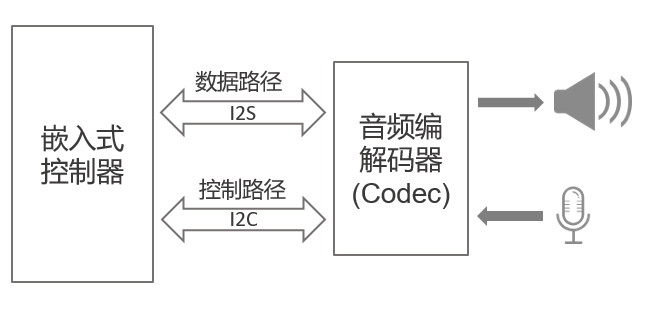
Audio Overview
Audio devices are an essential component of embedded systems, responsible for audio data sampling and output. An audio system typically consists of a data bus interface, control bus interface, audio codec (Codec), speaker, and microphone, as shown below:
Audio Device Features
The RT-Thread Audio device driver framework forms the low-level foundation of the Audio subsystem. It manages raw audio data input/output, stream control, device management, volume control, and hardware/codec abstraction.
Interface: Standard device interface (open/close/read/control)
Supports synchronous access
Supports both playback and recording
Supports audio parameter management
Supports volume control
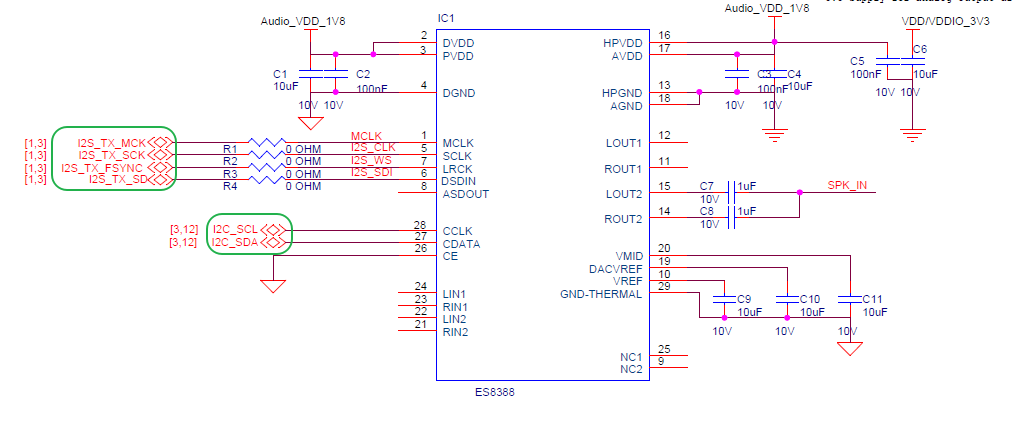
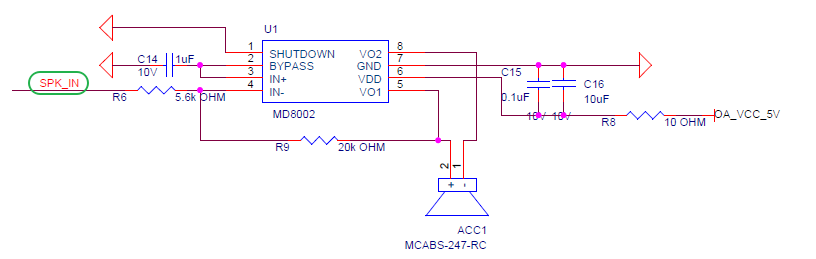
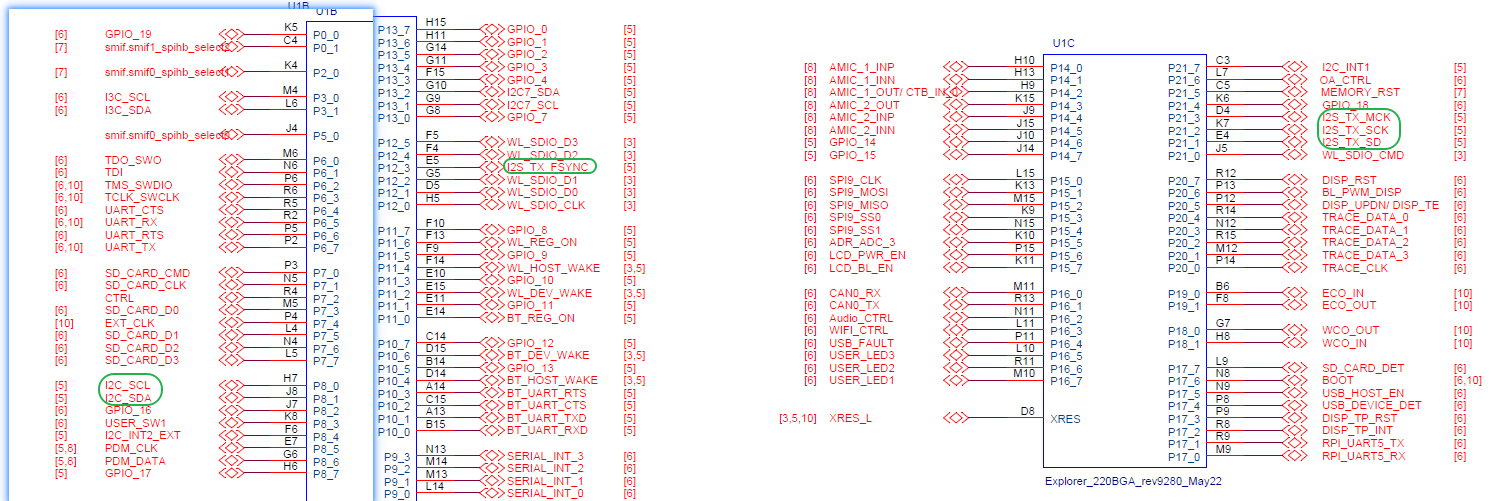
Hardware Description
ES8388 Connection Interface
Speaker Interface
Control Pins

BTB Connector
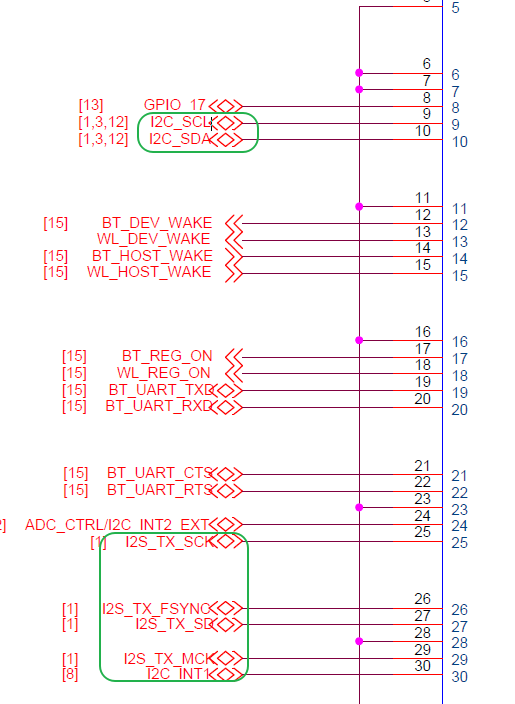
MCU Interface
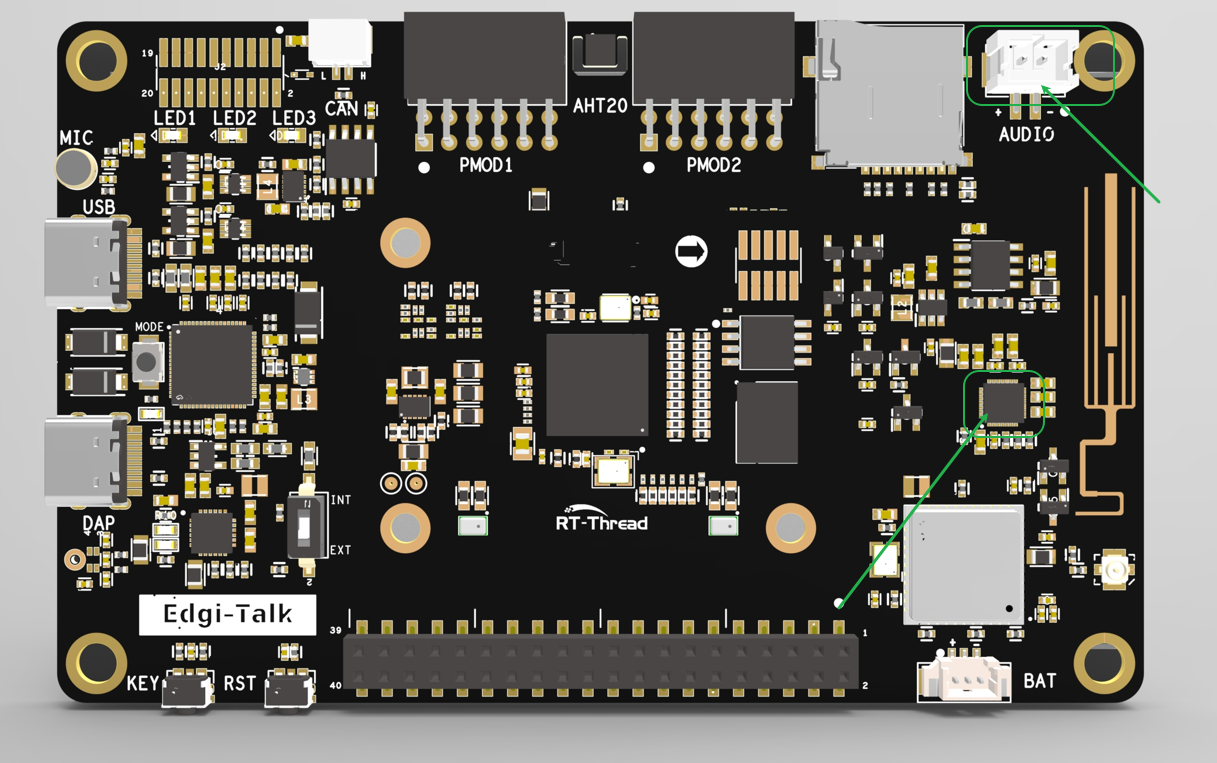
Physical Board Location
Software Description
The project is developed based on the Edgi-Talk M33 platform.
Example features include:
Microphone audio data acquisition
Audio playback through the speaker
Button control for play/stop
LED indication for playback status
The project structure is clear and helps users understand RT-Thread’s audio device driver and event handling mechanisms.
Usage Instructions
Compilation and Download
Open the project and complete the compilation.
Connect the board’s USB port to the PC using the onboard debugger (DAP).
Use the programming tool to flash the generated firmware to the development board.
The project can automatically call the signing tool (e.g.,
tools/edgeprotecttools/bin/edgeprotecttools.exe) to merge and flash the signed firmware (e.g.,proj_cm33_s_signed.hex).
Runtime Behavior
After flashing, power on the board to run the example.
The LED turns on by default, indicating that audio playback is enabled.
Press the button to toggle the playback state:
Play: LED on — microphone-captured audio is played through the speaker
Stop: LED off — audio playback is paused
The system continuously captures and plays audio data, achieving real-time audio loopback.
Notes
To modify the graphical configuration of the project, open the configuration file using the following tool:
tools/device-configurator/device-configurator.exe
libs/TARGET_APP_KIT_PSE84_EVAL_EPC2/config/design.modus
After editing, save the configuration and regenerate the code.
Boot Sequence
The system boot sequence is as follows:
+------------------+
|   Secure M33     |
|   (Secure Core)  |
+------------------+
          |
          v
+------------------+
|       M33        |
| (Non-Secure Core)|
+------------------+
          |
          v
+-------------------+
|       M55         |
| (Application Core)|
+-------------------+
⚠️ Please strictly follow the boot sequence above when flashing the firmware, otherwise the system may fail to run properly.
If the example project does not run correctly, compile and flash the Edgi-Talk_M33_S_Template project first to ensure proper initialization and core startup sequence before running this example.
To enable the M55 core, configure the M33 project as follows:
RT-Thread Settings --> Hardware --> select SOC Multi Core Mode --> Enable CM55 Core